Simple Guide to Installing a Mini Split System at Home
Putting in a mini split system can make your home more comfortable and help save energy. These systems, often called ductless air conditioners, are perfect for homes without central air or rooms that need extra cooling. If you’re thinking about getting one, here’s what you should know about the installation process and why hiring professionals like Air Solutions Mechanical is a smart choice.
What is a Mini Split System?
A mini split system has two main parts:
- Indoor Unit: Mounts on a wall inside your home to cool or heat the room.
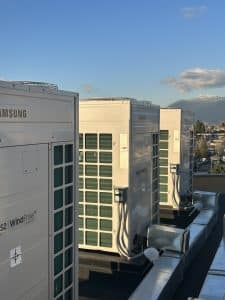
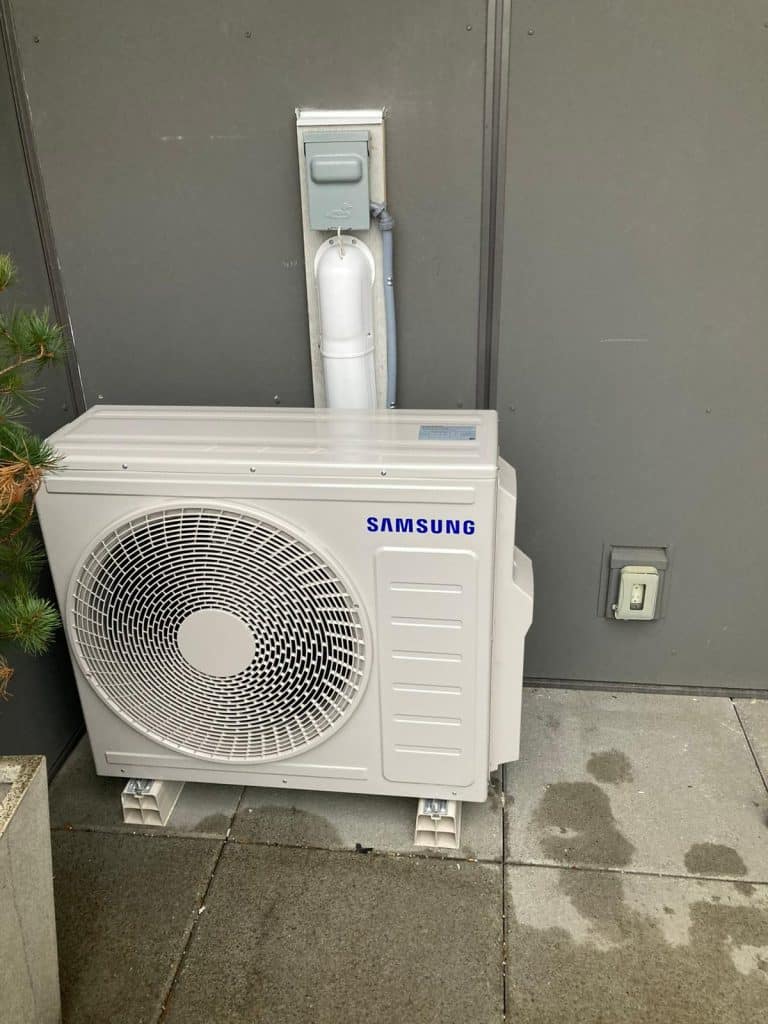
- Outdoor Unit: Sits outside your home and connects to the indoor unit through a small pipe for power, refrigerant, and drainage.
Unlike traditional systems, mini splits don’t need ductwork, making them easier to install in older homes or specific rooms.
Why Install a Mini Split?
Here are some key benefits:
- Energy Efficiency: Cool only the rooms you use, saving energy.
- Zoning Flexibility: Set different temperatures in each room for personalized comfort.
- Quick Installation: Faster and less messy compared to traditional systems.
- Better Air Quality: No ducts mean fewer allergens and dust circulating in your home.
- Quiet Operation: Enjoy a peaceful environment with low noise levels.
- Smart Control: Adjust temperatures remotely using your phone or tablet.
How Can You Benefit from a Mini Split?
- Lower Energy Costs: Save money by cooling or heating only where needed.
- Personalized Comfort: Set the perfect temperature in every room.
- Increased Home Value: Modern systems can raise your property’s worth.
- Flexible Installation: Great for single rooms or multiple zones.
- Year-Round Comfort: Many systems offer both heating and cooling.
Steps to Install a Mini Split System
1. Choose the Right Spot
- Place the indoor unit high on a wall for better air circulation.
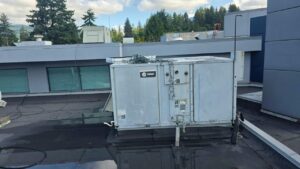
- Keep the outdoor unit in a clear, well-ventilated spot.
2. Install the Indoor Unit
A professional will:
- Secure a mounting plate to the wall.
- Drill a small hole for the connecting pipe.
- Mount the unit securely.
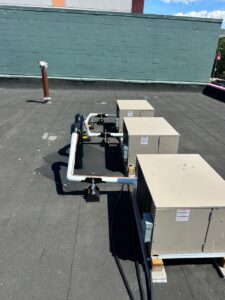
3. Set Up the Outdoor Unit
Technicians will:
- Place the outdoor unit on a stable base.
- Connect the pipes, wires, and drainage line.
- Insulate the pipes to avoid energy loss.
4. Connect the System
They’ll seal the connection between indoor and outdoor units to prevent leaks.
5. Test the System
Professionals will check refrigerant levels, test the system, and ensure everything works perfectly.
Why Hire Professionals?
Though it might look easy, installing a mini split system requires skill to avoid problems like:
- Low efficiency
- Refrigerant leaks
- Electrical issues
Experts handle tasks such as:
- Choosing the right system size for your home
- Safely managing electrical wiring
- Meeting local building codes
Why Choose Air Solutions Mechanical?
Air Solutions Mechanical is a trusted name for mini split installation. With years of experience, our skilled technicians provide:
- Expert advice
- Reliable service
- Quality installations
Whether you need a system for one room or your entire home, we’re here to help. Contact Us today to start your mini split installation!